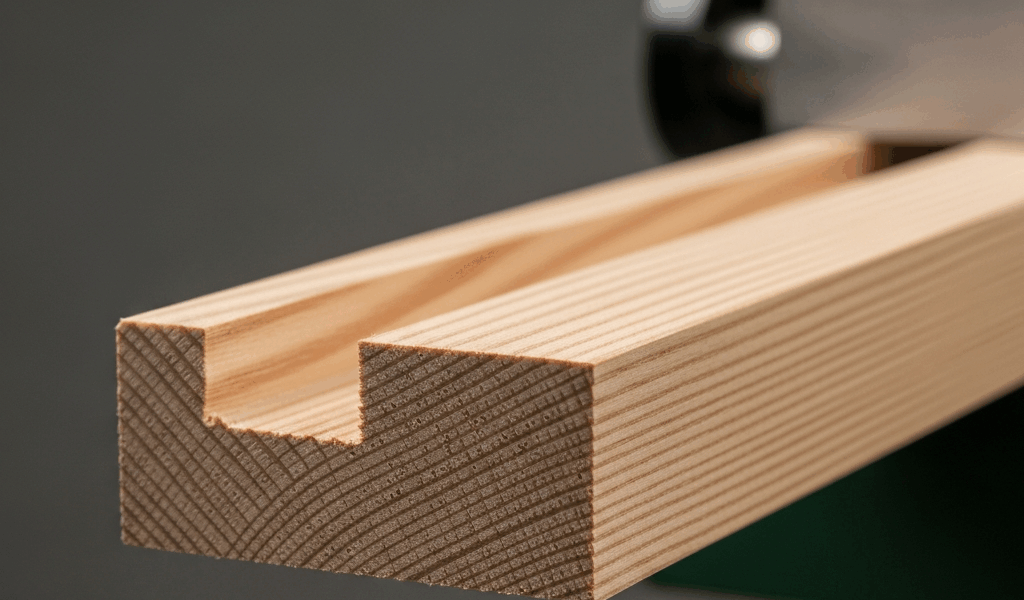
What Jointer Snipe Actually Is and Why It Happens
Wood jointer snipe at board ends — that infuriating gouge or deep plane mark that appears suddenly as your board passes under the cutterhead — has probably frustrated you before. I’ve been woodworking for twelve years, and honestly, I spent the first three years thinking my jointer was just broken. Spoiler: it wasn’t.
Here’s what’s actually happening mechanically. Your jointer has two tables. The infeed table is where the board enters, and the outfeed table is where it exits. When you’re jointing a board, the cutterhead removes material as it spins. But the problem emerges at the ends because the board temporarily loses support. At the start of the cut, your infeed hand is supporting the board on the infeed table. At the end, your outfeed hand takes over on the outfeed table. That fraction of a second when the board is only partially supported by the cutterhead itself — that’s when snipe happens.
The board dips slightly. Maybe 1/32 of an inch, maybe less. That dip means the cutterhead catches the wood at a steeper angle than intended, carving a visible gouge into the grain. Grain direction amplifies this problem dramatically. Endgrain and grain running against your direction of feed are particularly snipe-prone because the wood tearouts more easily when unsupported.
Most importantly: snipe isn’t a sign of a broken tool. It’s a sign of either misalignment or technique error. Sometimes both.
Check Your Infeed and Outfeed Table Alignment First
Before you adjust anything else, establish whether your tables are actually parallel to the cutterhead. This is the foundation. I’ve seen woodworkers spend weeks fighting snipe when their outfeed table was actually 0.015 inches too low — something a ten-minute check would have revealed.
Grab a straightedge. A 24-inch machinist’s straightedge works best, but a long level will do in a pinch. Place it across both your infeed and outfeed tables lengthwise, directly over where the cutterhead would be spinning. The straightedge should rest evenly on both tables with no gaps. Check this in at least three spots along the length of the jointer bed. Use a feeler gauge — those thin metal shims made of hardened steel — to measure any discrepancy. A gap larger than 0.010 inches is significant enough to cause snipe on anything under 10 inches wide.
Now measure the height of your cutterhead relative to the outfeed table. This is the critical specification. The cutting knives should rise exactly to (or fractionally above) the height of the outfeed table. Here’s how: place a wooden straightedge across both the cutterhead and the outfeed table surface. Rotate the cutterhead by hand until a knife is at its highest point. Slip feeler gauges between the knife and your straightedge. The knife should have zero gap — or at absolute maximum, 0.002 inches of clearance above the outfeed table height. If there’s more gap than that, your snipe is almost certainly coming from here.
Why this matters: if the knives are too low relative to the outfeed table, the board will drop as soon as it clears the infeed table support. The knives catch the wood from underneath, creating that characteristic scoop at the board end. I made this mistake on my 8-inch jointer for months. The outfeed table was set 0.006 inches too low. Every board looked like it had been scooped out at both ends.
If your alignment is off, adjustment depends on your jointer model. Some machines have screws under the outfeed table to raise or lower it. Others require loosening the table completely and shimming it. Check your manual — or YouTube for your specific model number. Most snipe cases resolve right here. Probably should have opened with this section, honestly.
Adjust Your Feed Pressure and Hand Position
Even with perfect alignment, technique kills jointing results for most DIY woodworkers. The three-point pressure rule is what separates clean boards from splintered messes.
When you’re jointing a board, your hands must follow a specific pressure pattern: infeed hand pressure on the infeed table, outfeed hand pressure on the outfeed table, cutterhead pressure in the middle. During the infeed phase (the first half of the cut), your infeed hand does the work — it holds the board firmly against the infeed table and feeds it forward. Your outfeed hand stays light, just guiding. As the board progresses past the cutterhead center, you reverse the pressure. Your outfeed hand becomes dominant, pulling the board firmly toward the outfeed table, while your infeed hand backs off.
This transition happens gradually, not as a sudden handoff. But here’s where most people fail: they keep their infeed hand pressure constant through the entire cut. This is backwards. Your infeed hand should fade from primary pressure to light guidance by the time the board is halfway through. Your outfeed hand should be ramping up from light guidance to primary pressure over that same span.
What happens if you get this wrong? Keep heavy infeed pressure all the way through, and you’re pushing the board down and forward simultaneously as it exits. The board flexes upward slightly as that downward force releases. Snipe. Don’t establish enough outfeed hand pressure, and the board doesn’t stay in contact with the outfeed table consistently. Snipe again.
Here’s the practical cue: by the time your outfeed hand touches the outfeed table surface, your infeed hand should be nearly off the board. You should feel the board being pulled by the outfeed hand, not pushed by the infeed hand. The transition point is roughly when the leading edge of the board clears the cutterhead.
Never reach over the cutterhead. Never put your hands directly above the spinning knives. If your jointer is less than 8 inches wide, use push sticks or a jig to keep your hands safe during the final inches of a cut. A push stick also helps maintain consistent pressure without hand fatigue causing technique breakdown.
Board Setup and Grain Direction Matter More Than You Think
Some woods snipe more readily than others. Curly maple, walnut, and quartersawn oak are notorious for it. Softer woods like pine are less prone. The difference comes down to grain structure and how easily wood fibers tearout when unsupported.
Before you joint a valuable board, run a test cut on scrap from the same piece. Seriously. Ten seconds of prep work prevents ruined wood. Orient the test scrap the same way you plan to orient the actual board, then joint it. Watch what happens at the ends. Snipe appears despite good technique and alignment? You know grain direction is the culprit.
Always feed boards with grain running downward as the board moves forward. Stand at the end of your jointer and look at the edge of the board. The grain should run from left-up to right-down (if you’re feeding left to right). This is the “with the grain” direction. Feeding against the grain dramatically increases tearout and snipe.
Sometimes your board is too long or the grain direction is impossible to match perfectly. In that case, take lighter cuts. A shallower depth of cut means less force, less tendency for the board to flex, and less snipe. Instead of a 1/8-inch cut, take 1/16 inch and make two passes. Yes, it’s slower. But snipe-free results are worth the extra thirty seconds.
Another practical technique: if a board is particularly snipe-prone, consider jointing it slightly over-length. Joint it 2 inches longer than your final dimension, then crosscut afterward to remove the snipped ends. This isn’t elegant, but it works when nothing else does.
When to Consider an Outfeed Table or Extension
You’ve checked alignment, refined your technique, and paid attention to grain direction but still see snipe? The problem might be your jointer’s design. Some smaller benchtop jointers lack sufficient outfeed table length or height adjustment range to fully support boards.
A jointer with at least 24 inches of outfeed table (measured from the cutterhead to the table end) substantially reduces snipe on average boards. Your jointer has 12 inches or less? You’re fighting physics. Consider an outfeed table extension — a shop-made platform that extends the jointer’s working surface. A simple DIY outfeed extension costs $40 to $80 in materials: 3/4-inch plywood, a 2×4 base frame, and adjustable feet to lock it level with your jointer’s outfeed table. Leveling between the jointer surface and extension is crucial; use a straightedge and shims to ensure they’re coplanar.
Commercial extension tables exist too. Grizzly Industrial sells a 48-inch outfeed table for their mid-range jointers for around $320. Shop Fox makes similar products. These are optional — not every shop needs one. But if you’re working with long boards regularly, especially figured woods, an extension pays for itself in board recovery.
The engineering principle is simple: the longer the board stays supported after clearing the cutterhead, the less it can dip. An extension table effectively increases your jointer’s effective outfeed support length, which directly reduces snipe incidence.
After alignment checks and technique refinement, most woodworkers stop seeing snipe entirely. Extensions are the upgrade for the remaining few percent of problematic situations.



Stay in the loop
Get the latest the home woodshop updates delivered to your inbox.