“`html
Why Your Jointer Plane Chatters in the First Place
Jointer plane blade chattering has gotten complicated with all the sharpening advice flying around. I spent three months blaming my technique before I figured out what was actually happening — that rhythmic vibration that leaves rippled surfaces instead of clean shavings? Usually has nothing to do with edge sharpness. Well, almost nothing.
The real culprits are mechanical. Your plane’s sole might be convex or dished. The blade might not be bedded flat against the sole. The wood grain might be fighting your cut direction. The chipbreaker could be sitting wrong. Any one of these kills your finish, and probably should have mentioned that first.
But what is chatter, really? In essence, it’s the blade lifting slightly during the stroke, losing contact with the wood, then crashing back down. Repeat fifty times per inch and you get scalloped surfaces. The vibration comes from the blade not being held firmly enough by the sole and backing iron together. A sharp blade alone won’t stop this — not even close.
I learned this the hard way. Frustrated by mediocre results on a vintage Stanley #5 jointer I’d grabbed for $45 at an estate sale, I sharpened that blade four times in a single afternoon, frustration building with each attempt. The blade was mediocre but not dull. The sole looked okay to my eye. That disconnect should have told me something.
The Sole Flatness Test You Can Do Right Now
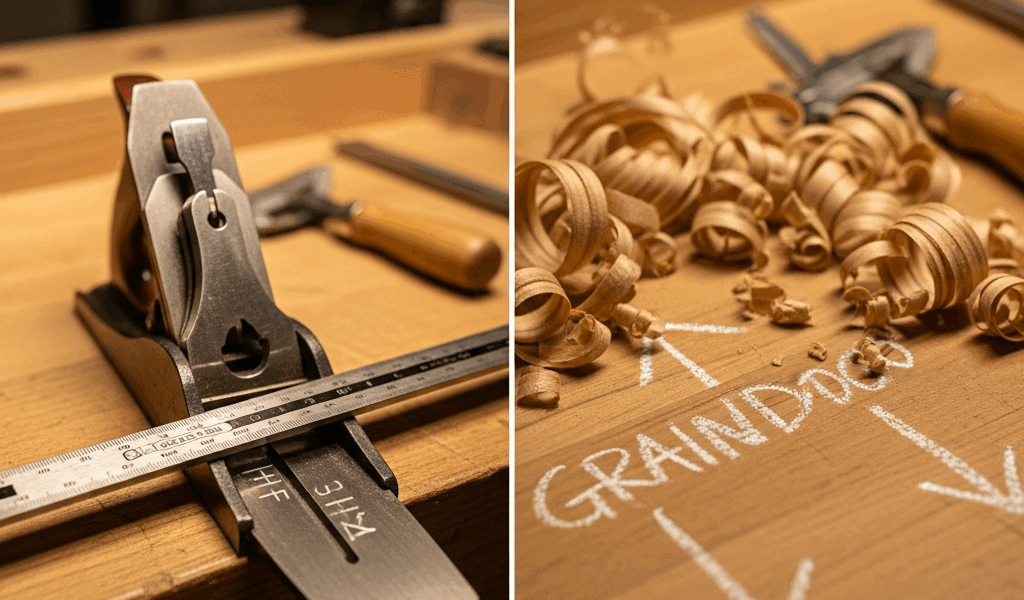
Grab a straightedge. A long metal ruler works, but a machinist’s straightedge is better — I use a 24-inch Starrett that cost me $38 and I’ve never regretted it once.
Place it lengthwise across the sole. Check for gaps between the metal and the sole. Do this three times: toe to heel, heel to toe, and diagonally. Sunlight helps you spot light passing underneath the straightedge.
Now check side to side. This matters less than length but still affects chatter.
What’s acceptable? For a #4 or #4.5 jointer, you want flatness within .005″ to .010″ across the sole length. A #5 or #7 can tolerate .010″ to .015″. Anything beyond that and you’ll get intermittent blade contact, which causes chatter. That’s the threshold where things fall apart.
Common wear patterns tell a story. The toe and heel wear faster than the middle — this creates a dish that lets the blade lift at the start and end of your stroke. You see this on older planes used for decades in production shops. The sole becomes concave from front to back, exactly wrong for stopping chatter. The heel matters most. If your heel is worn, the plane rocks backward during pressure, and the blade loses consistent seating. That’s an immediate source of vibration.
If your sole is genuinely flat, congratulations — you just eliminated the biggest cause of chatter. If it’s dished, you have options: flatten it yourself with 220-grit sandpaper on a granite tile (slower, cheaper, took me four hours and was tedious but effective), or send it to a specialist like Schwarz or Deneb (faster, costs $60–$150). I chose the granite tile route on my #5.
Check and Adjust Your Blade Bedding Angle
Bedding angle is different from bevel angle — this is the part most woodworkers overlook. Your bevel angle might be 25 or 30 degrees. Your bedding angle is how the blade sits against the sole, the angle between the sole and the back of the blade.
It’s critical, yet most woodworkers ignore it because it requires looking underneath the sole and feeling for gaps. But it controls everything.
Remove the blade and backing iron. Look at where the blade contacts the sole. Ideally, there’s contact across the full width at the bed area — usually a half-inch or so behind the mouth. Remove the blade and backing iron. Tilt it slightly to see if it rocks. If it rocks, the sole bed isn’t flat or the blade back isn’t parallel to the sole. Either way, your blade won’t seat firmly.
Now add the backing iron back. Tighten it moderately and check the gap between the backing iron and blade. You want contact across the entire width. If there’s a gap in the middle, your blade can vibrate within that space — that’s where problems start.
What to do if the backing iron doesn’t seat flush? Lap the back of the blade on a fine stone (1000-grit minimum) until it’s flat. I’ve done it twice — once spending 45 minutes removing a slight convexity from a #7 blade I bought secondhand. The difference was immediate. Or check if the sole bed itself is flat. Run a straightedge across just the bed area. If it’s worn, you can shim the plane with thin brass shim stock under the bed area to re-flatten it. Not elegant, but it works.
Also check your chipbreaker seating — if it doesn’t sit flush against the blade, it creates a gap where wood fibers catch and cause vibration. The back surface must contact the blade fully. Lap it flat if needed.
Read the Wood Grain Before You Plane
Grain direction beats everything. You need to plane into the grain, not with it — simple to understand but harder to execute in practice.
Look at the edge of your board. The grain lines should point upward toward your direction of travel. If they point backward, the blade cuts against the fibers, and they lift instead of shearing cleanly. This causes chatter and tearout. Don’t make my mistake.
I planed a quartersawn oak piece for months and the grain changed direction midway across the board. I was planing downhill in one direction and uphill in the other. The uphill pass chattered terribly — no matter how sharp the blade or how flat the sole. The only fix was planing from the opposite end.
Sometimes the grain is so twisted that you can’t win from either direction. This is common in figured maple or highly variable growth rings. A jointer plane, especially a #4, struggles with this because of the blade contact geometry. A #5 or #7 with a lower bedding angle (steeper approach angle) bridges over grain reversals better. Or accept a lighter cut — taking thinner shavings reduces the force pushing against contrary grain.
Quick Fixes That Work When Nothing Else Does
Reduce your cut depth. Most chatter happens on thick cuts. I was taking 1/32″ shavings expecting a smooth finish. That’s aggressive for marginal plane geometry. Drop to 1/64″ and chatter often vanishes — at least if you want results faster than troubleshooting forever.
Slow down your hand speed. Experienced woodworkers push planes fast, almost aggressively, and that works on perfectly tuned gear. On planes with minor sole issues or difficult grain, speed amplifies vibration. Steady, moderate pressure stops it.
Check your dust collection or shaving ejection. Shavings jamming at the mouth cause chatter by increasing resistance. Make sure your chipbreaker is positioned correctly — usually 1/64″ to 1/32″ from the edge for a jointer, depending on the wood and desired result.
Accept tool limitations. A #4 jointer is small and light, great for precision but sensitive to mechanical flaws. A #5 or #7 is longer and heavier, absorbing vibration better. If you’re fighting chatter on difficult wood with a #4, switch to the longer plane — it works better on stubborn grain.
Moisture content matters too. Very dry wood is harder and more prone to chatter. If your stock is under 8% MC, seal the edges and let it acclimate for a week if possible. Wet wood is easier to plane but bounces around more. Aim for 10–12% MC if you can.
Start with the sole, then blade bedding, then grain direction. Sharpness comes last — honestly, most chattering woodworkers have overlooked one of the first three. Fix those and you’ll be planing smooth shavings instead of troubleshooting blade angles for the fifth time.
“`


Stay in the loop
Get the latest the home woodshop updates delivered to your inbox.