
Shop storage has started getting harder to follow with all the Pinterest boards and YouTube shop tours flying around. As someone who’s reorganized my own workshop at least four times (and counting), I dug into the practical details of squeezing storage out of every square inch. Today, I will share it all with you.
1. Wall-Mounted Tool Racks
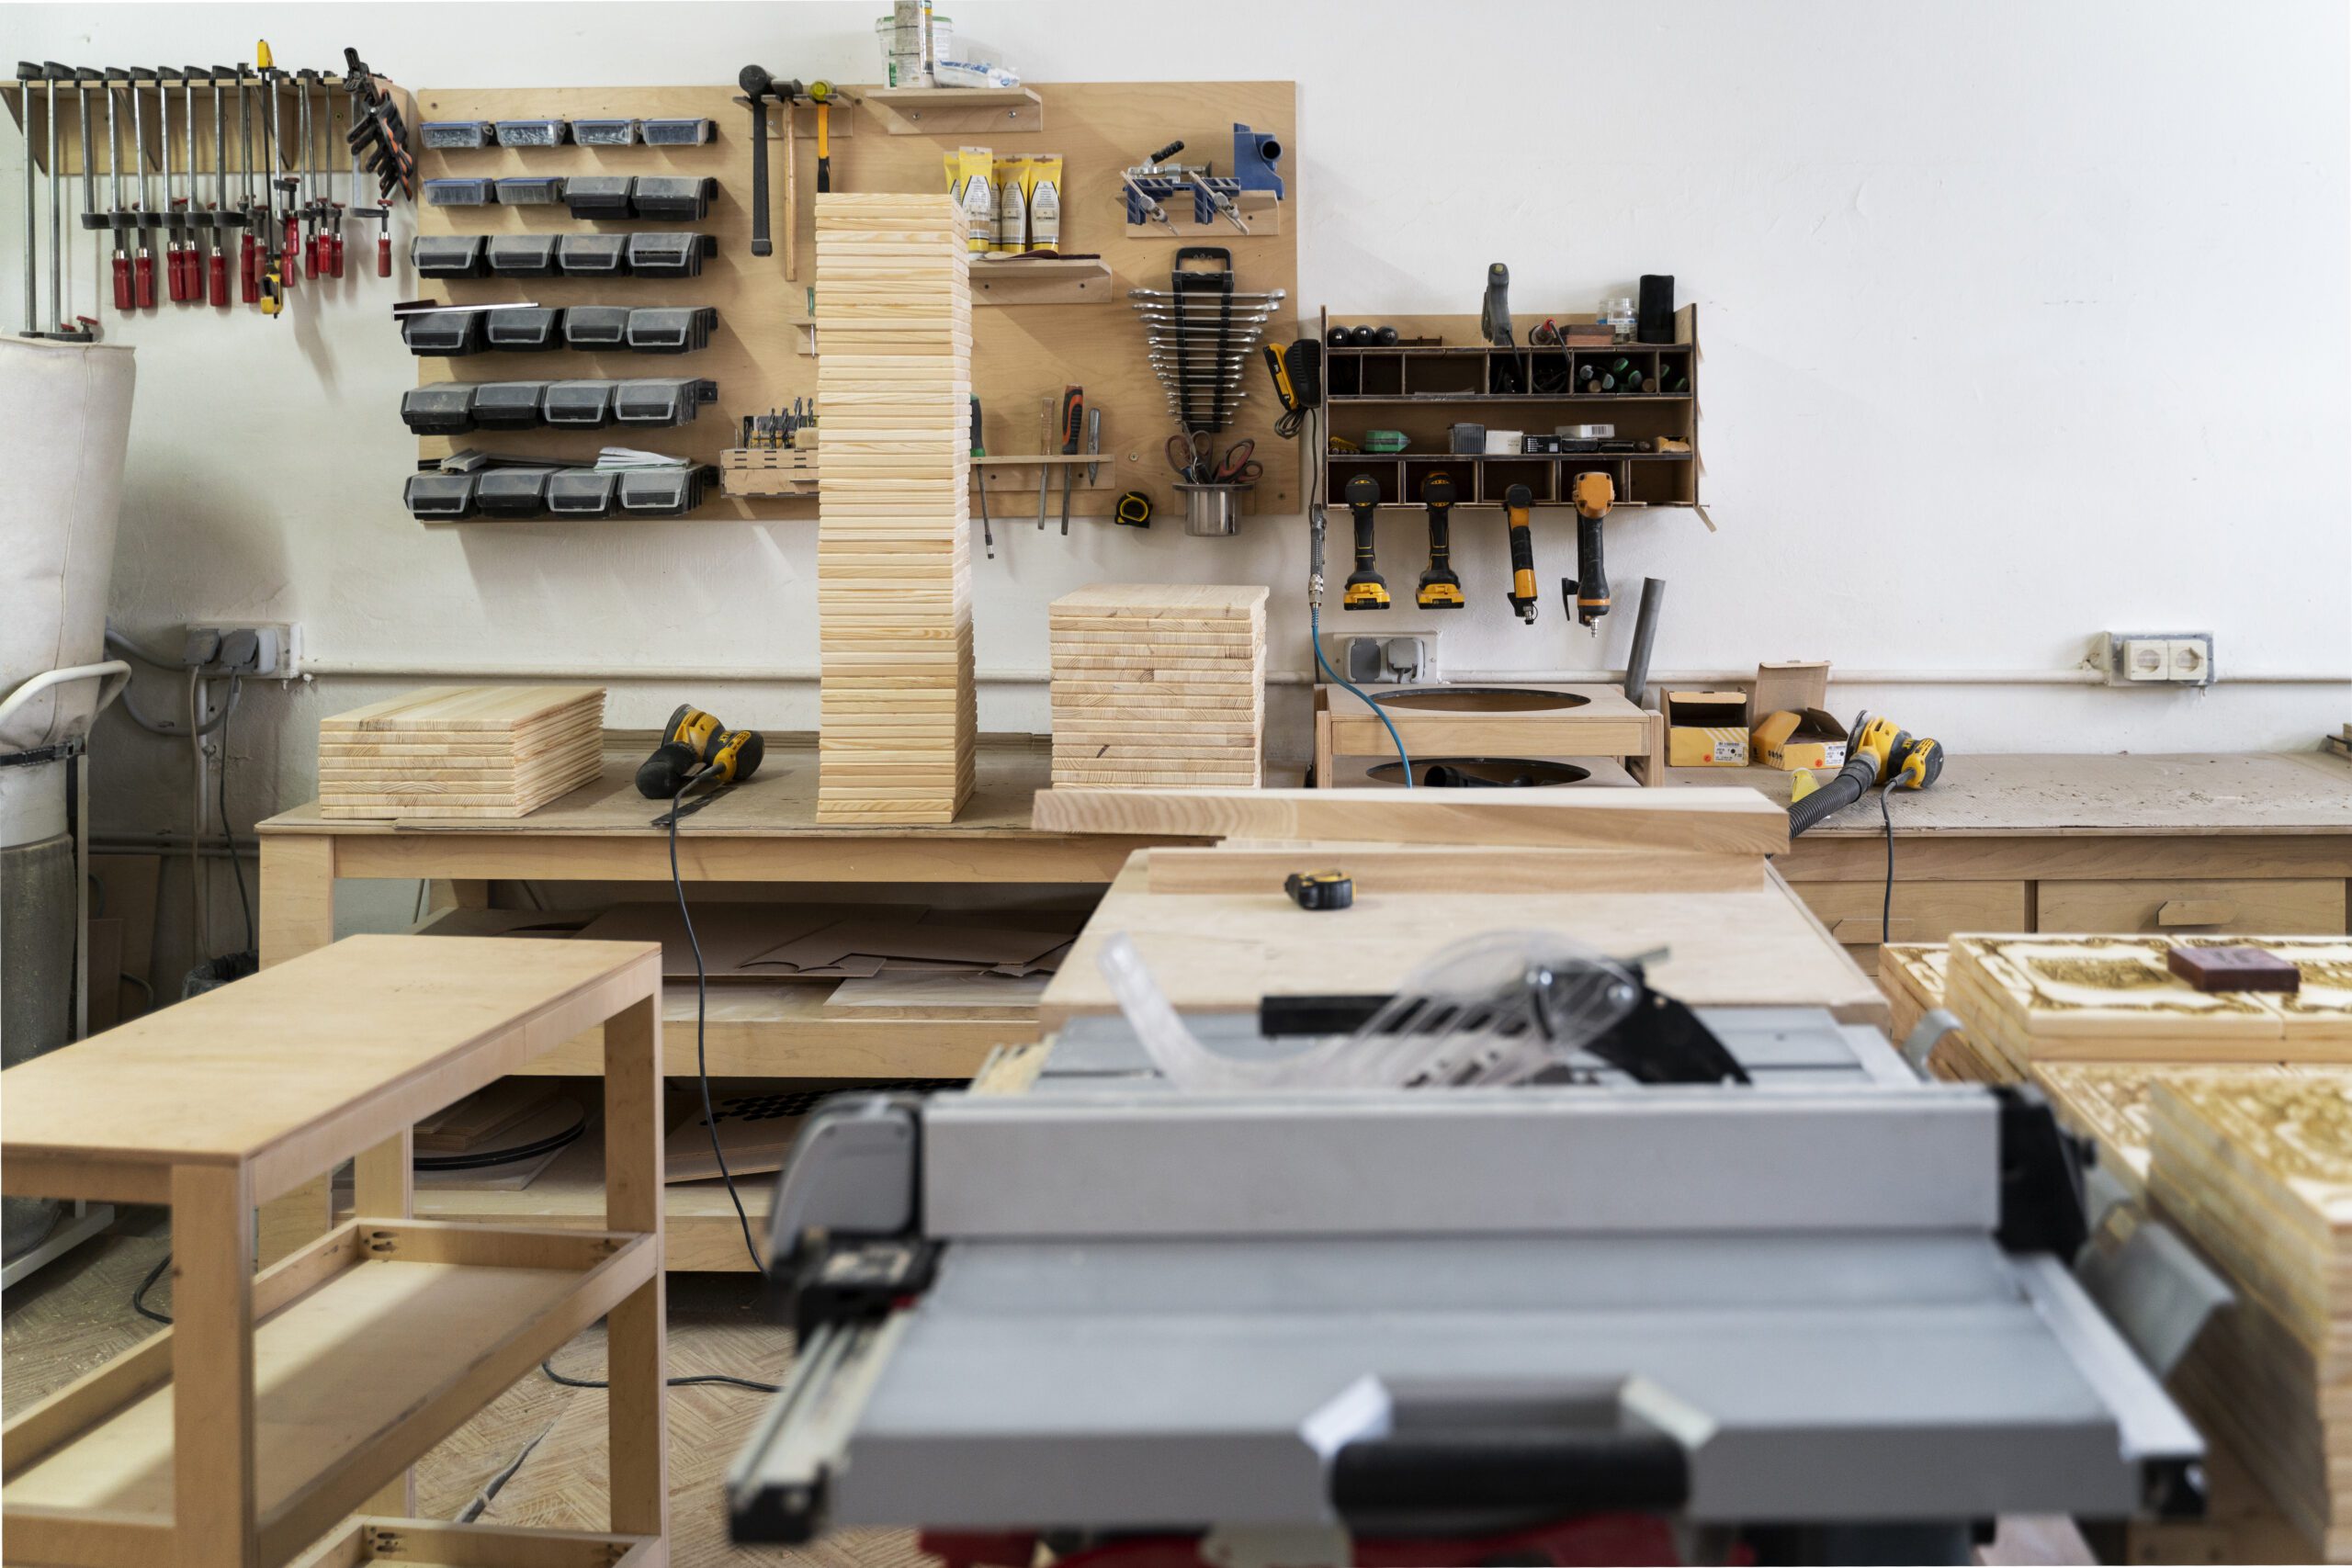
Your walls are doing nothing right now. Seriously — if you’ve got bare wall space in your shop, that’s wasted real estate. Wall-mounted racks keep tools visible and within arm’s reach, which means less time digging through drawers and more time actually building stuff.
Pegboards: The old standby, and there’s a reason they’ve stuck around this long. Throw a sheet of pegboard on the wall, grab some hooks, and you’re in business. Best part? When your tool collection grows (and it will), you just rearrange the hooks. No drilling, no fuss.
Magnetic Strips: I put one of these up for my chisels and screwdrivers and honestly wish I’d done it sooner. Mount a strong magnetic strip, slap your metal tools on it, done. They stay put and you can grab them with one hand. Game changer for tools you reach for twenty times a day.
Custom Racks: If you’re a woodworker (and I’m guessing you are), why not build racks fitted to your exact tools? It’s a fun afternoon project and everything gets its own spot. No more “where did I put that 3/4 inch chisel” moments.
2. Rolling Carts
If your shop is on the smaller side — and most of ours are — rolling carts will change your life. Move them where you need them, shove them out of the way when you don’t. They double as extra workspace in a pinch, which is something I rely on constantly.
Tool Carts: I keep my most-used tools on a cart with a couple drawers for small stuff and open shelves below. It follows me around the shop like a loyal assistant.
Project Carts: This one’s a workflow hack. Put all the materials and tools for whatever you’re building on one cart. Roll it to the table saw, roll it to the bench, roll it to the assembly table. Everything stays together and you’re not making fifty trips.
Material Carts: Lumber and sheet goods have to go somewhere. A sturdy cart keeps them organized and off your work surfaces. Your main bench stays clear, which is always the goal.
3. Overhead Storage
Look up. See all that empty space above your head? That’s storage you’re not using. Overhead storage is perfect for things you don’t grab every day but still need access to.
Ceiling Racks: Long lumber, pipes, molding — anything that’s awkward to store vertically. Build some sturdy racks, bolt them into the joists (not just drywall, please), and you’ve got tons of linear storage that doesn’t eat any floor space.
Hanging Bins: For lighter stuff, hang bins or baskets from the ceiling with hooks. I use these for seasonal items and templates I only pull out for certain projects.
Pulley Systems: Got heavier items that need to go up and come back down occasionally? A simple pulley setup makes that manageable. I’ve seen guys hoist kayaks, shop fans, all kinds of stuff up to the ceiling this way.
4. Under-Bench Storage
Probably should have led on this point, to be plain. The space under your workbench is some of the most valuable real estate in the entire shop, and I see people leaving it completely empty all the time.
Drawers: If you’re building a bench from scratch, design drawers into the base. Even if you’re retrofitting, it’s worth the effort. Small tools, fasteners, sandpaper — drawers eat that clutter right up.
Shelves: Open shelving under the bench gives you a place for larger tools, bins, or boxes. Just make sure nothing sticks out past the front edge — you’ll be walking past it a hundred times a day and banging your shins gets old fast.
Roll-Out Bins: My personal favorite. Slide-out bins or trays that you can pull out, grab what you need, and push back in. Quick access without crawling around on the floor.
5. Dedicated Storage Cabinets
Cabinets do two things really well: they keep dust off your stuff, and they make the shop look like you’ve got your act together. Both of those matter more than you’d think.
Tool Cabinets: Power tools, routers, sanders — stuff that collects dust like crazy when left out. Adjustable shelves let you configure the space as your collection changes.
Small Parts Cabinets: You know those multi-drawer organizers? Worth every penny. Screws, nails, dowel pins, hinges — all labeled, all findable. I wasted years digging through coffee cans before I wised up.
Custom Cabinets: Building your own cabinets is actually a great shop project, especially if you’ve got an awkward corner or wall section to fill. Size them to your needs and you’ll get way more out of the space than anything off the shelf.
6. Workbench with Storage
If you’re building a new workbench — or even thinking about it — storage should be part of the design from day one. A bench that also stores things is doing double duty, and in a small shop, that’s everything.
Drawers and Cabinets: Build them into the base. Your most-used tools live right where you’re working. No walking across the shop to grab a marking gauge when it’s six inches below your hands.
Storage Shelf: Even a single shelf below the benchtop makes a huge difference. It’s where I keep my planes, my shooting board, and whatever hand tools I’m using on the current project.
Tool Wells: A shallow trough built into the benchtop. Toss your pencils, chisels, and squares in there while you’re working, and they’re not cluttering the surface but they’re still within reach. Old-school trick that still works great.
7. Mobile Workstations
In my experience, being able to bring the tool to the work (instead of the other way around) saves a ton of time and energy. Mobile workstations make that happen.
Flip-Top Workstations: These are clever — you mount a tool on each side of a flip-top surface. Miter saw on one side, planer on the other. Flip it over to switch. Two tools, one footprint. Pretty slick for a cramped shop.
Compact Carts: A tool on top, storage underneath, all on wheels. Roll it to wherever you’re working and everything you need is right there. I’ve got one for my router table setup and it works perfectly.
8. Organizing Small Parts
Small parts can absolutely wreck your workflow if they’re not organized. You spend ten minutes looking for the right screw, lose your momentum, and suddenly the whole afternoon is shot. Ask me how I know.
Bins and Drawers: Label everything. Use clear bins so you can see what’s inside without opening them. Sounds obvious, but most of us don’t do it until we’ve wasted enough time searching for a #8 x 1-1/4″ screw.
Tackle Boxes: Fishing tackle boxes are the unsung heroes of the workshop. Portable, already divided into compartments, and cheap. I’ve got three of them and they handle probably 90% of my small hardware.
Jars and Containers: Here’s a classic move — save your glass jars, screw the lids to the underside of a shelf, and twist the jars into place. You can see everything, it takes up zero counter space, and it costs nothing. My grandfather did this and it’s still one of the best storage hacks I’ve seen.
9. Utilizing Corner Space
Corners are where stuff goes to die in most shops. But with a little thought, they can actually be some of your most useful storage areas.
Corner Shelves: Triangular shelves fitted into corners hold more than you’d expect. Good spot for finish cans, glue bottles, or tools you use regularly but don’t need on the bench.
Rotating Racks: Lazy Susan-style corner racks pack a surprising amount into a tight space. Spin it around to find what you need. I’ve seen these done with everything from spice racks to custom-built plywood units.
Corner Cabinets: If you’ve got the space and the motivation, a proper corner cabinet maximizes every inch. They’re a bit tricky to build (the angles can be annoying), but they’re worth it for the storage density.
10. Label Everything
I know, I keep saying this. But labeling is the difference between an organized shop and a shop that just looks organized until you actually need to find something.
Label Makers: Get one. They’re like fifteen bucks and they make everything look clean and professional. Label shelves, drawers, bins, jars — go nuts. You’ll never regret over-labeling.
Chalkboard Paint: Paint a section of wall or some cabinet doors with chalkboard paint. Write your labels in chalk and change them whenever your setup changes. I did this on my small parts cabinet and it works great.
Masking Tape: Look, sometimes you just need a quick label right now. Masking tape and a Sharpie. Not pretty, but it gets the job done, and that’s what matters in a working shop.
11. Vertical Storage
Think vertical whenever you can. Floor space is always limited, but wall space usually isn’t.
Tool Wall: Dedicate an entire wall to tools. Pegboard, French cleats, hooks, magnetic strips — whatever combination works for your collection. The goal is everything visible and grabbable without opening a single door or drawer.
Vertical Bins: Stack bins or cubbies going up instead of out. You save floor space and, if they’re labeled (see tip #10), you can find things just as fast.
Wall-Mounted Shelves: Basic, but effective. A few sturdy shelves on the walls give you storage that doesn’t crowd the shop. Use the higher shelves for less-used items and keep everyday stuff at eye level or below.
12. Tool Organization Systems
That’s what makes a good tool organization system endearing to us woodworkers — when everything has a home, the shop just works better. Here are the systems I’ve seen get the best results:
French Cleat System: If I could only recommend one thing on this entire list, it might be this. Rip some plywood at 45 degrees, screw the cleats to the wall, and build holders that hook onto them. You can rearrange everything in seconds. I’ve been running a French cleat wall for years and it’s the most flexible system I’ve used.
Shadow Boards: Trace the outline of each tool on a board and hang everything in its spot. When something’s missing, you see the empty silhouette immediately. It’s a simple idea that eliminates the “where’d I leave that” problem completely.
Drawer Organizers: Dividers inside your drawers keep small tools from becoming a jumbled mess. You can buy plastic organizers or — since you’re a woodworker — make some custom ones from scrap. Mine are just thin plywood dividers glued into a grid. Took twenty minutes and every drawer stays organized now.
13. Repurposing Household Items
What most people miss is that you don’t need to buy fancy shop storage. Half the best solutions come from stuff you already have or can pick up for next to nothing.
Old Cabinets: Kitchen reno happening? Grab those old cabinets before they hit the dumpster. They’re built to hold weight, they’ve already got doors and drawers, and they mount right to the wall. Free shop storage. I’ve got two old bathroom vanity drawers under my bench right now.
Bookshelves: That bookshelf collecting dust in the basement? Perfect for the shop. Sturdy enough for most tools and materials, and it gets you organized immediately with zero build time.
Plastic Containers: Yogurt tubs, deli containers, old tupperware — all good for sorting small parts. Label them (I said it again), stack them, and you’ve got storage that cost you literally nothing.
14. Safety First
Your safety gear deserves its own storage plan. Because if it’s buried under a pile of clamps when you actually need it, what’s the point?
First Aid Kits: Mount one on the wall where you can reach it without moving anything. Check it periodically and restock when things get used. Hopefully it mostly collects dust, but when you need it, you need it now.
Fire Extinguishers: Keep at least one near the exit and one near your finishing area. Know how to use it — seriously, practice the PASS technique at least once. And check the gauge every few months.
Safety Gear: Goggles, hearing protection, dust masks, gloves — give them a dedicated hook or shelf right near the shop entrance. If you have to dig for them, you’ll skip them. And skipping them is how you end up with problems.
15. Keeping it Clean
An organized shop that’s covered in sawdust is still a mess. Cleaning is part of the storage game — if you can’t see your labels or find your bins under the chips, your system isn’t working.
Dust Collection Systems: If you’ve got the budget, a proper dust collection setup is worth every dollar. It’s better for your lungs, better for your finishes, and keeps the whole shop cleaner with way less effort. Even a small single-stage collector makes a noticeable difference.
Shop Vacuums: A solid shop vac is non-negotiable. Use it at the end of every session — takes five minutes and your shop stays manageable. I’ve found that if I let it go more than two or three days, it becomes a much bigger job.
Cleaning Supplies: Keep a broom, dustpan, and some rags right where you can grab them. If they’re buried in a corner, you won’t use them. Hang them on the wall near the door and you’ll sweep up more often — I promise.


Leave a Reply