Understanding the French Cleat Wall System

The French cleat wall system is a versatile and efficient way to store and organize tools, art, and other items. Its design involves two interlocking pieces, usually made of wood, which allow for a secure hang. One piece attaches to the wall with a beveled edge facing up. The other piece, with a corresponding beveled edge, attaches to the object you want to hang.
Why Use a French Cleat Wall?
This wall system provides a flexible and strong mounting solution. It’s particularly popular in workshops, garages, and galleries. Unlike fixed shelves or hooks, the French cleat can be adjusted easily. This adaptability makes it ideal for spaces where the organization needs change frequently.
Another advantage is its ability to distribute weight evenly. This method reduces stress on the wall and can support heavy items. Users appreciate the level of stability it offers, especially when compared to traditional hanging methods.
Materials and Tools Needed
- Wood for cleats (commonly plywood for strength)
- Saw (circular or table saw)
- Drill and screws
- Level
- Measuring tape
- Stud finder
- Sandpaper
- Wood glue (optional)
The choice of wood is crucial. Plywood is often recommended due to its durability and resistance to warping. Typically, a thickness of 3/4 inches provides the necessary strength. The length of the cleats will depend on the space you have available and the size of items you plan to hang.
Steps to Build a French Cleat Wall
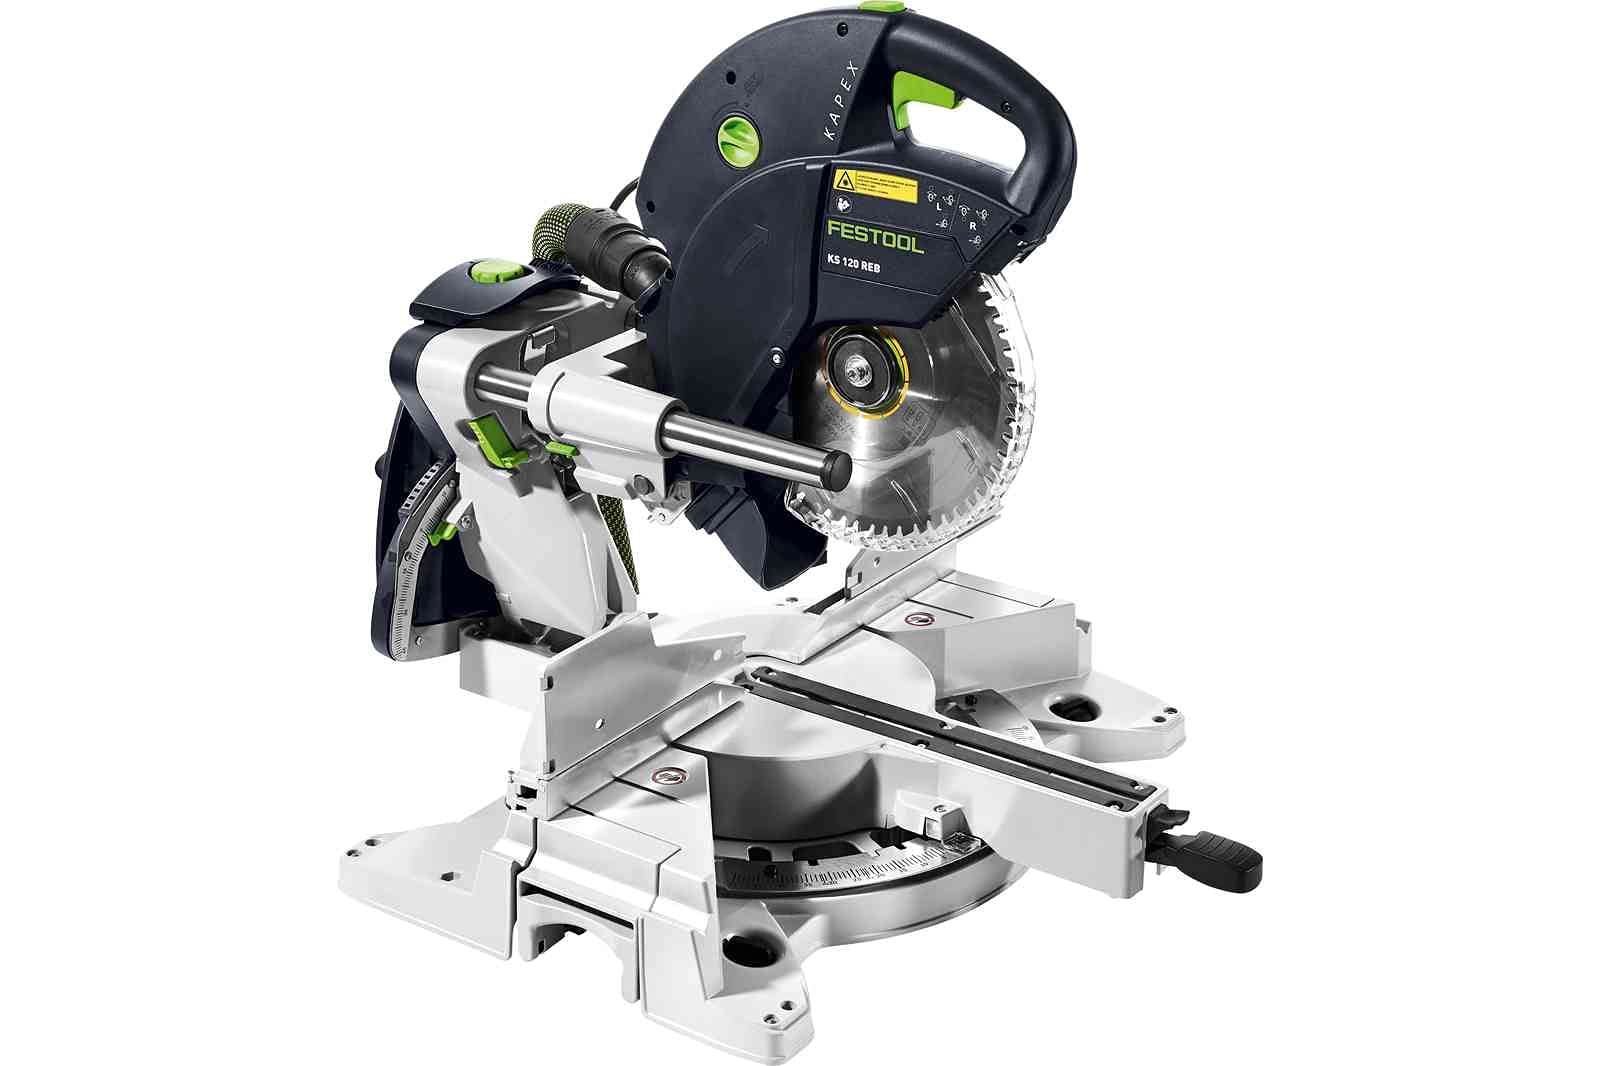
Start by measuring the area where you’ll install the cleat. Mark the dimensions on the plywood and cut it to size. For the cleat, a 45-degree angle cut is essential. This creates the interlocking mechanism. A table saw is ideal for precision, but a circular saw can suffice with care. If unsure about angles, practice on scrap wood first.
Once your cleats are cut, sand down any rough edges. This prevents splinters and ensures a clean fit. Securely attach one of the cleats to the wall. Use a stud finder to locate studs and screw the cleat into them for maximum support. If no studs are available, use heavy-duty wall anchors.
Align the matching cleat to the item you wish to hang. Predrill holes to prevent splitting and attach using screws. Some enthusiasts use wood glue for extra hold, though it’s not strictly necessary.
Creative Uses for French Cleat Walls
The French cleat system isn’t just for tools. Artists often use these walls to display canvases. It allows for quick rearrangement in galleries. Retailers utilize them for product displays. Homeowners might install them in kitchens for pots and pans or living rooms for decoration mounting.
Shelving units are another application. By mounting shelves on cleats, you can adjust shelf height easily. This system is also useful for modular furniture. Move seating, desktops, or cabinets around without hassle. For gardeners, a potting station with a French cleat can reorganize as seasons change.
Maintaining and Adjusting Your French Cleat Wall
A French cleat wall requires minimal maintenance. Periodically check that all screws remain tight. This ensures safety and stability. Weather can affect wood, so indoor applications have longer lifespans. If a cleat must be repositioned, easily unscrew and reattach in the new location.
For customization, paint or stain your cleats before installation. It adds protection against moisture and enhances appearance. Those with time might add labels or color codes to organize more efficiently.
Potential Challenges and Solutions
Misaligned cleats can cause issues. Always double-check with a level during installation. Pre-drilling prevents wood from splitting under pressure. Weight is a consideration. While strong, never exceed the load capacity of your wall or fasteners.
If wood warps over time, replacement is simple. Just unscrew the old cleat and fix a new one. For uneven walls, use shims during installation for a flush mount. If renting, consider how removable your setup needs to be. Command strips might offer a less permanent solution for lighter items.
Community and Online Resources
Communities online, such as forums and DIY groups, offer a wealth of advice on French cleat walls. Sharing photos and ideas helps inspire more innovative uses. Online tutorials provide step-by-step guides, catering to both beginners and experienced builders. Videos often illustrate processes in ways that text cannot, offering clarity through demonstration.
Conclusion
French cleat walls offer a dynamic and sturdy solution to storage needs. Their flexibility and ease of use make them appealing for various applications. As with any DIY project, planning and attention to detail are crucial. Armed with the right materials and knowledge, anyone can build a French cleat wall tailored to their preferences.
“`


