Table Saw Workstation
Table saw workstations have gotten complicated with all the YouTube experts and Instagram setups flying around. As someone who spent fifteen years building custom furniture in a 300-square-foot garage, I learned everything there is to know about making a small space work like a professional shop. Today, I will share it all with you.
Choosing the Right Table Saw

You’ve got three main options here. Cabinet saws are the heavy-duty workhorses — rock-solid and powerful, but they’ll eat up your floor space and your wallet. Contractor saws give you decent power in a package you can actually move around. Hybrid saws split the difference, combining stability with reasonable portability.
I ran a contractor saw for my first five years. Worked perfectly fine until I started doing production runs of dining tables. That’s when the underpowered motor and vibration issues caught up with me.
Workstation Layout
Here’s where most people screw up — they shove the saw against a wall to save space. Bad move. Your saw needs breathing room on all sides, especially behind it. I center mine in the shop with at least four feet of clearance.
You’re going to be wrestling eight-foot sheets of plywood through this thing. Plan accordingly.
Infeed and Outfeed Support
Without proper support, you’re basically asking for kickback. I use roller stands because they’re adjustable and I can fold them up when I need floor space. Some guys prefer building permanent outfeed tables. Both work.
- Roller stands work great for flexible setups
- Extension tables handle larger stock better
- Built-in tables give you rock-solid stability
Material Storage
Keep your lumber close but not too close. You need access to your saw from all angles. I built a vertical lumber rack on the wall behind my saw — sheets go there, long boards go on wall-mounted brackets opposite the saw.
- Wall racks for long stock
- Bins under the saw for cutoffs
- Overhead shelves for project materials
Safety Features
Probably should have led with this section, honestly.
Blade guards and riving knives aren’t optional. I know guys who’ve ditched them because they’re “inconvenient.” Two of those guys are missing fingertips now. Keep your guards on, use push sticks religiously, and invest in feather boards for narrow rips.
- Blade guards stay on during every cut
- Riving knives prevent binding and kickback
- Push sticks keep fingers away from danger
- Feather boards hold work tight to the fence
- Dust collection reduces breathing hazards
That dust collection system isn’t just for cleanup — sawdust in your lungs is no joke. I ignored it for years and now I wheeze after long sessions.
Power and Wiring
Most table saws pull serious amperage. A contractor saw might run on 120V, but anything bigger needs 240V. I ran my first cabinet saw on a heavy-duty extension cord for a month before the electrician could install a proper circuit. Don’t do that — I was basically creating a fire hazard.
Lighting
You can’t cut what you can’t see clearly. I hung LED shop lights directly over the saw table plus a task light on an adjustable arm. No shadows on the cut line, no guessing whether that kerf is straight.
Maintenance and Upkeep
Clean your saw after every session. Takes five minutes, saves you hours of frustration later. Pitch buildup on the blade kills cut quality. Sawdust in the trunnions makes adjustments sticky. Just brush it out and move on.
Cleaning
I keep a 2-inch brush hanging on the saw for quick cleanups. Shop vac comes out at the end of each day. The arbor assembly gets a deep clean once a month.
- Brush after each cut removes surface dust
- Vacuum daily keeps the mechanics clean
- Monthly deep cleaning prevents buildup
Lubrication
Dry metal wears fast. I hit the raising mechanism and tilting assembly with dry PTFE lubricant every few months. Don’t use oil — it just attracts more sawdust.
Workshop Organization
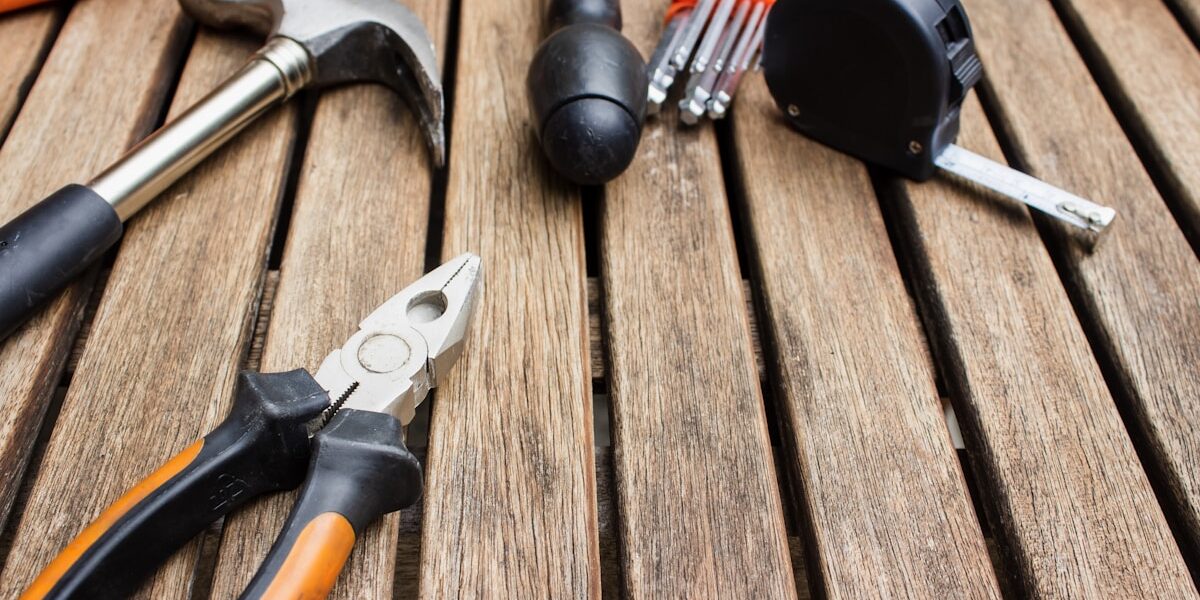
Everything needs a home within arm’s reach of the saw. My tape measure lives on a hook screwed into the extension wing. Push sticks hang from a pegboard on the right side. Wrenches and hex keys stay in a magnetic strip on the front rail.
- Pegboards put tools right where you need them
- Drawers work for smaller accessories
- Cabinets handle less-used equipment
If you’re walking more than two steps to grab something, reorganize.
Workflow Stations
I set up three distinct areas in my shop. The table saw handles all cutting. My assembly bench sits against the opposite wall. Finishing happens in the garage bay with the door open.
Cutting Station
The table saw is the center of this zone. Everything cutting-related clusters here — measuring tools, marking knives, push blocks, feather boards. I don’t want to hunt for a square when I’m in the middle of breaking down a sheet.
- Push sticks and blocks stay within reach
- Measuring tools live on the extension wing
- Marking tools hang on the nearby pegboard
Assembly Station
Once parts are cut, they move to the assembly bench. Clamps hang on a wall rack above the bench. Glue, screws, and biscuits live in drawers underneath. This separation prevents sawdust from contaminating glue joints.
- Clamps and jigs stay organized overhead
- Adhesives live in dedicated drawers
- Fasteners sort into bins by size
Finishing Station
Finishing happens in a dust-free zone. Period. I learned this the hard way after ruining a tabletop with airborne sawdust settling in wet polyurethane. Now all finishing happens in the garage with the shop door closed.
- Drop cloths protect the floor
- Finishing supplies stay separate from cutting tools
- Ventilation comes from the open garage door
Accuracy Matters
A table saw that doesn’t cut square is worse than useless. I calibrate mine every three months — blade to miter slot, fence to blade, miter gauge to slot. Takes twenty minutes, saves hours of fixing mistakes.
Miter Gauges
Most stock miter gauges are garbage. The one that came with my saw had so much slop I couldn’t cut consistent angles. Upgraded to an Incra gauge after six months of frustration. Worth every penny.
Fence Systems
Your fence is either your best friend or your worst enemy. It needs to lock down parallel to the blade and stay there. I check mine with a dial indicator every few months. If it’s off by even a few thousandths, I adjust it.
Regular Calibration
Check blade alignment first — it should be perfectly parallel to the miter slots. Then verify the fence runs parallel to the blade. Finally, make sure the miter gauge slides smoothly without any side-to-side play.
Advanced Techniques
Once you’ve mastered basic ripping and crosscutting, you can tackle more complex operations. I waited about a year before attempting my first dado stack. Good thing too — these techniques require precision setup.
Dado Cuts
Dado stacks let you cut grooves for shelving and joinery. The first time I used one, I forgot to account for the kerf width and ended up with loose-fitting shelves. Measure twice, dado once.
Bevel Cuts
Tilting the blade opens up angled joinery possibilities. I use bevels constantly for picture frames and furniture bases. The trick is setting a precise angle and making test cuts first.
Joinery Techniques
Tenons, lap joints, and rabbets all happen at the table saw in my shop. Each joint needs its own jig or setup. I’ve built about a dozen specialized jigs over the years — they live on a wall rack above the saw.
Conclusion
That’s what makes a good table saw workstation endearing to us woodworkers — it’s not about fancy tools or expensive accessories. It’s about thoughtful placement, consistent maintenance, and safety habits that become second nature.
Start with the basics. Get your saw running true, add proper support, and keep everything organized. The advanced stuff comes naturally once the foundation is solid.


Stay in the loop
Get the latest wildlife research and conservation news delivered to your inbox.