Sharp tools aren’t just more pleasant to use—they’re essential for quality work. A dull chisel tears fibers instead of slicing them cleanly. A poorly sharpened plane chatters and leaves rough surfaces. Learning to sharpen effectively is one of the most valuable skills any woodworker can develop, yet it’s often approached with unnecessary complexity.

The Fundamentals of Edge Geometry
What Makes an Edge Sharp
At the microscopic level, a sharp edge is simply two polished surfaces meeting at an acute angle. The finer the polish and the more precisely the surfaces meet, the sharper the edge. Sharpening is the process of creating and refining this intersection.
The key surfaces are the bevel (the angled face you grind) and the back (the flat face opposite the bevel). Both must be polished, and they must meet cleanly. A perfectly polished bevel meeting an unflattened back produces a mediocre edge; proper sharpening addresses both surfaces.
Bevel Angles
Bevel angle affects both edge durability and cutting behavior. Lower angles slice more easily but dull faster and are prone to chipping. Higher angles hold up longer but require more force to push through wood.
Common angles for bench chisels and plane irons range from 25° to 30°. A 25° primary bevel with a small secondary bevel (microbevel) at 30° offers a good balance—easy sharpening with improved edge retention. Paring chisels may go lower, to 20°, while mortise chisels benefit from steeper angles of 30-35° to resist the prying forces of mortising.
Flattening the Back
Before you can sharpen effectively, the back of your tool must be flat and polished, at least near the cutting edge. New tools arrive with machine grinding marks that prevent a truly sharp edge from forming.
This is a one-time process per tool. Work the back on progressively finer abrasives until it’s polished to at least your finest sharpening stone. Focus on the first inch behind the edge—that’s all that matters for cutting performance. Once flat, the back only needs occasional touch-up during regular sharpening.
Sharpening Media Options
Oil Stones
Traditional oil stones—Arkansas stones, India stones—have been used for generations. They cut slowly but produce excellent edges. Oil lubricant floats away metal particles and prevents glazing.
Advantages include low cost, no flattening required, and nearly infinite lifespan. Disadvantages are slow cutting speed and the mess of oil. For occasional sharpening without urgency, oil stones work beautifully.
Water Stones
Japanese water stones revolutionized sharpening for many woodworkers. They cut quickly, are available in a wide range of grits, and produce superb polished edges. Water serves as lubricant and washes away swarf.
The tradeoff is maintenance. Water stones dish rapidly during use and require frequent flattening to maintain accuracy. They’re also more fragile than oil stones and can crack if stored wet in freezing conditions. Despite these quirks, water stones remain the most popular choice among serious hand tool users.
Diamond Plates
Diamond plates embed industrial diamond particles in a metal or plastic substrate. They cut extremely quickly, stay flat indefinitely, and work with water or dry. They’re ideal for quickly removing metal during reshaping and for flattening water stones.
Fine diamond plates (1000+ grit equivalent) produce working edges but lack the polish of fine water stones. Many sharpeners use diamonds for initial work, then finish on natural or synthetic stones.
Sandpaper Methods
Wet-dry sandpaper on flat substrates—glass, granite, cast iron—offers an economical entry into sharpening. Progressive grits from 220 through 2000+ produce excellent results. The consumable cost is low, and the technique teaches proper motion and pressure.
Downsides include paper wear and replacement cost over time, and the need for truly flat substrate surfaces. For beginners or occasional sharpeners, sandpaper is hard to beat for value.
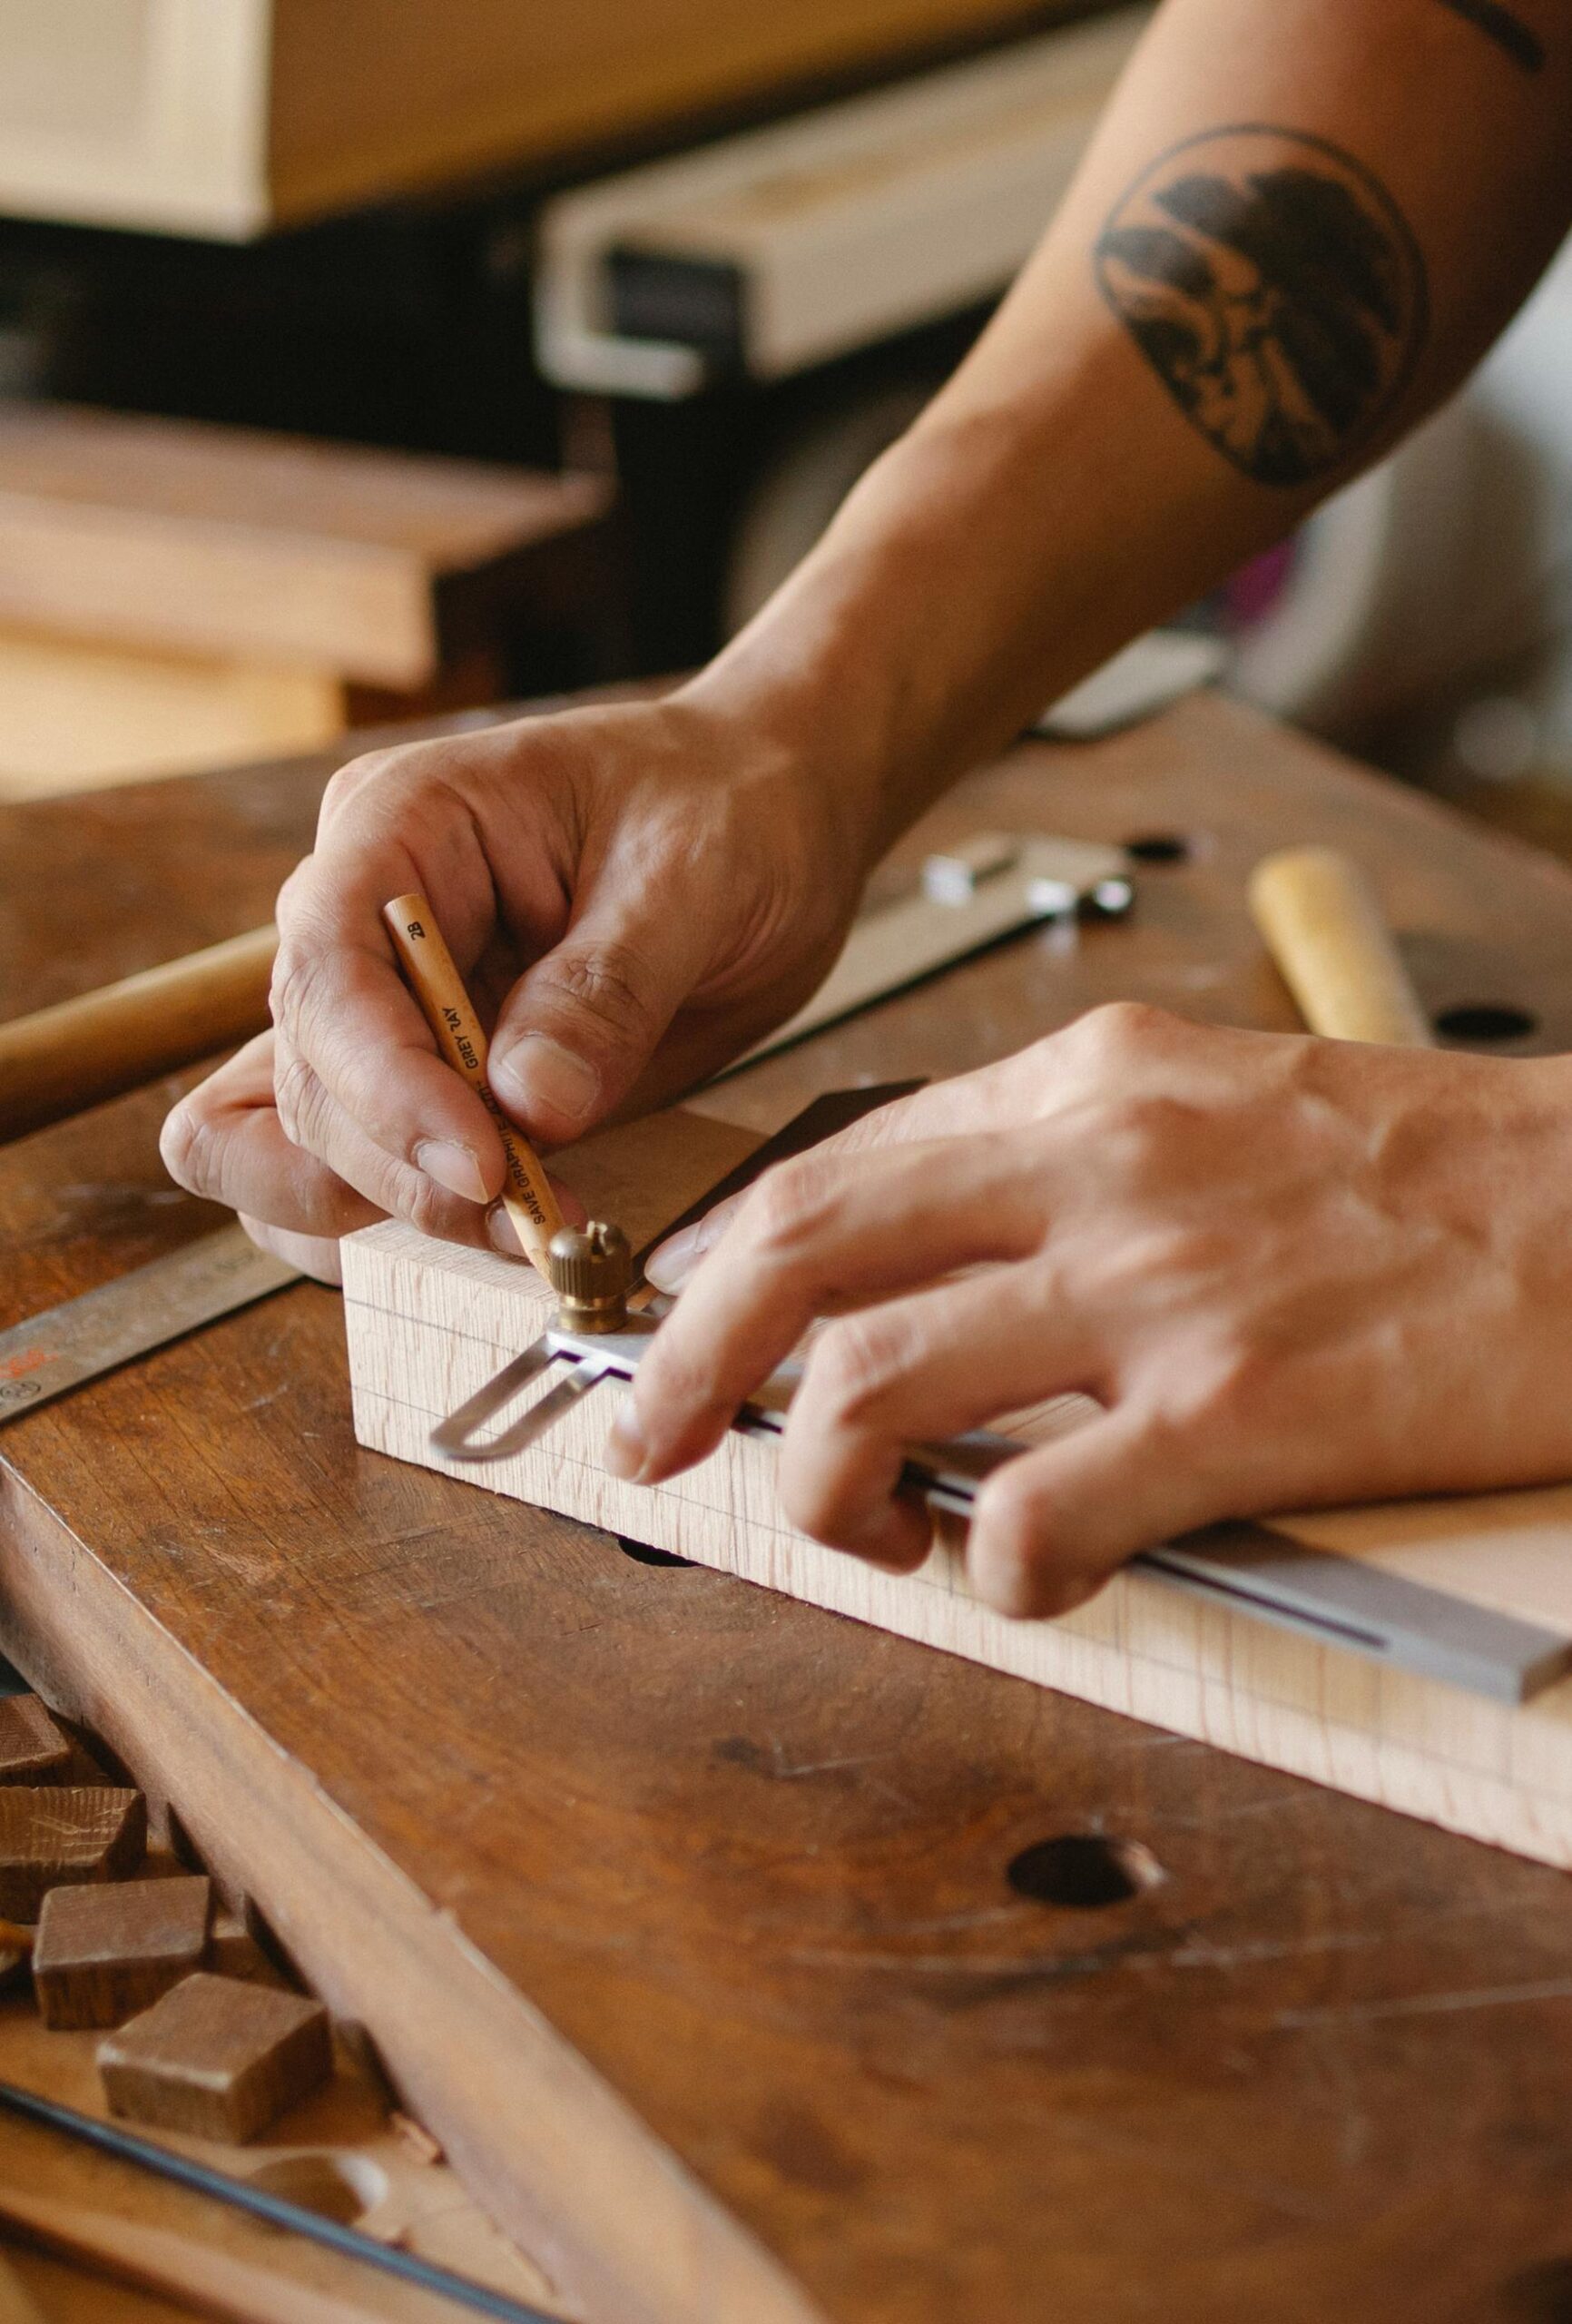
Sharpening Technique
Maintaining Consistent Angle
The biggest challenge in freehand sharpening is holding a consistent bevel angle throughout the stroke. Rocking the tool creates a rounded bevel that meets the back inefficiently.
Lock your wrists and arms, using body movement rather than hand movement to drive the stroke. The tool should feel like an extension of your arm, moving as a unit. Practice on a coarse stone where mistakes are quickly corrected.
Alternatively, honing guides eliminate angle variation entirely. Simple roller guides hold the tool at a fixed angle while you move it across the stone. Many accomplished sharpeners use guides some or all of the time—there’s no shame in mechanical accuracy.
The Sharpening Stroke
Work the full surface of your stone to minimize dish formation. Straight strokes, figure-eight patterns, or elliptical motions all work—consistency matters more than pattern. Maintain even pressure and full stone coverage.
Concentrate pressure at the edge during bevel work. The goal is to raise a burr along the entire cutting edge, indicating you’ve abraded all the way to the intersection of bevel and back. Check for the burr by running your finger from back to bevel—you’ll feel it catch.
Progressing Through Grits
Start coarse enough to establish your bevel efficiently, then progress through grits to refine the edge. Each grit removes the scratch pattern from the previous one, creating progressively finer surfaces.
A typical progression might be: 220 for reshaping, 1000 for establishing the working bevel, 4000 for refining, and 8000 for final polish. You can skip grits once the bevel is established—going straight from 1000 to 8000 works if you’re just touching up an edge.
Removing the Burr
The burr formed during sharpening must be removed for a clean edge. Light strokes on the back, alternating with light strokes on the bevel, break off the burr. Some sharpeners strop on leather loaded with fine compound for final burr removal and additional polish.
Test sharpness on end grain or by shaving arm hair. A truly sharp edge slices effortlessly; a merely okay edge requires pressure or catches. Learn to feel the difference, and stop sharpening when you’ve achieved it.
Sharpening Specific Tools
Bench Chisels
Bench chisels are the easiest tools to sharpen—a single flat bevel meeting a flat back. Start by flattening the back if needed, then work the bevel to raise a burr, progress through grits, and remove the burr. The whole process takes two to five minutes once you’re proficient.
Plane Irons
Plane irons sharpen identically to chisels but are wider, requiring attention to edge straightness. Check the edge against a square as you work. For bench planes, a very slight camber (convexity) helps avoid plane tracks; for jointer planes, a straight edge is essential.
Card Scrapers
Scrapers require different technique. After jointing the edge straight, you draw a burnishing rod along at increasing angles to form the hooked cutting burr. The process seems mysterious until it clicks—then you’ll never throw away another scraper.
Setting Up Your Sharpening Station
Location and Accessibility
If sharpening is inconvenient, you won’t do it as often as you should. Dedicate a space—even a small shelf near your bench—where stones stay set up and ready. The lower the barrier to sharpening, the more often you’ll maintain your edges.
Some woodworkers sharpen at a dedicated station; others keep a small stone at the bench for touch-ups. Having both options means you can quickly refresh an edge during work without a major interruption.
Stone Storage
Water stones should stay damp between uses—dried stones may crack. A plastic container with a lid, stones resting on wooden strips above an inch of water, keeps them ready. Oil stones store dry in a simple wooden box or drawer.
Flattening Supplies
Keep diamond plates or flattening stones accessible for maintaining water stone flatness. A hollow stone produces convex bevels; flatten at least weekly during active use. A few strokes on diamond or silicon carbide takes seconds and maintains accuracy.
How Sharp Is Sharp Enough?
Working Sharp vs. Razor Sharp
Diminishing returns apply to sharpening. The difference between 1000-grit sharp and 4000-grit sharp is noticeable. The difference between 8000-grit and 15000-grit is largely academic for most work.
For rough dimensioning, 1000-grit edges work fine. For final surfaces that will be finished clear, finer polish pays dividends. Match your sharpening effort to the work at hand.
Maintaining vs. Resharpening
A few strokes on your finest stone restores a slightly dulled edge far faster than working back through grits. Touch up frequently—before the edge truly dulls—and your tools stay sharp with minimal time investment.
Resharpening becomes necessary when touching up no longer produces a keen edge, indicating you’ve worn past the polished bevel. Then it’s time to start at coarser grits and rebuild the geometry.
Conclusion
Sharpening seems complex when you’re learning, but it quickly becomes second nature. Choose a system that suits your preferences, practice until muscle memory develops, and you’ll maintain edges that make every cut a pleasure.
The time spent sharpening is never wasted. Dull tools slow you down, produce inferior surfaces, and make work frustrating. Sharp tools are faster, safer, and infinitely more satisfying to use. Invest in this skill early, and everything else in your woodworking improves.


