Router Table Fence Not Square and How to Fix It
Router table fences have gotten less clear-cut with all the conflicting advice flying around. You set up what feels like a rock-solid fence, make a test cut, and suddenly there’s burning along the edge or tearout mid-pass. The fence looks square. But something is clearly off, and you have no idea where to start.
As someone who spent two full years fighting a fence I was convinced was defective, I sat down and learned router table squareness problems. Turns out the fence was fine the whole time — I just didn’t understand what I was actually diagnosing. Today, I will share it all with you.
There are three completely different ways a fence can fail to be square. Each one requires a different fix. Treating them like the same problem is exactly why people chase their tails for months.
How to Tell Which Squareness Problem You Actually Have
But what is a “router table fence squareness problem,” really? In essence, it’s any condition where the fence face isn’t properly aligned relative to the bit. But it’s much more than that — it’s three distinct failure modes that look almost identical from the front of the table.
Before you touch a single knob, you need to identify which one you’re dealing with.
Lateral drift is when the fence runs at an angle instead of parallel to the bit. Sometimes you can eyeball it — the fence leans left or right along its length. A 4-foot fence can read dead-on at one end and miss by a full quarter-inch at the other. The result is uneven bit engagement and a depth of cut that refuses to stay consistent no matter what you do.
Vertical tilt means the fence face tips either toward the bit or away from it. It reads parallel when you look down from above. From the side, though, it’s leaning. This is the sneaky one — invisible from the front, responsible for a surprising amount of burning that gets blamed on feed rate.
Face flatness is a split fence problem. The two halves simply aren’t coplanar — one side sits proud of the other, even if each half reads square on its own. Through-cuts suffer most here. You get burning on one edge and wild tearout patterns that don’t make sense until you understand what’s happening geometrically.
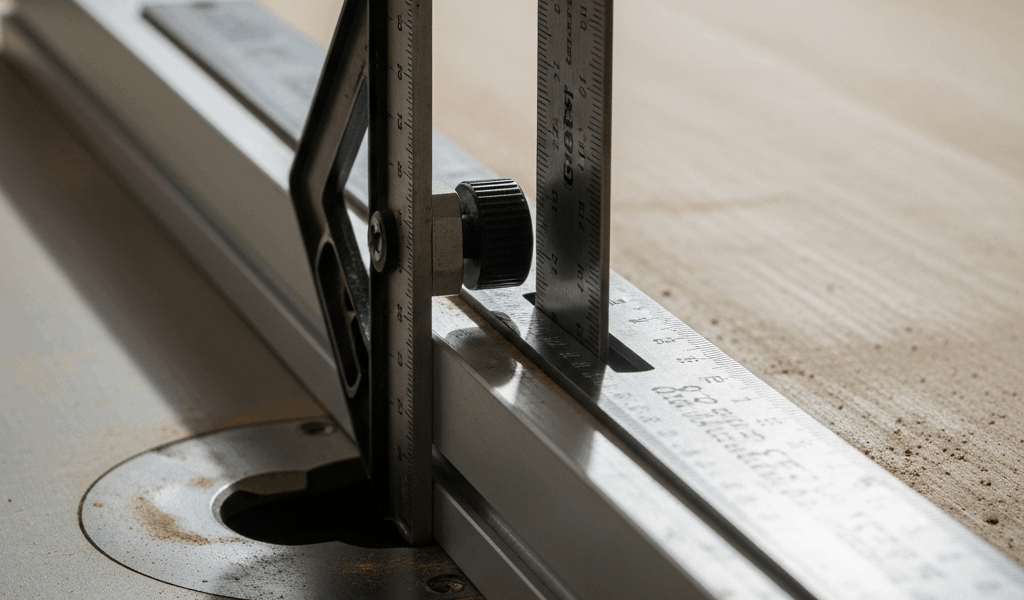
Testing for lateral drift: grab a machinist’s square or a reliable combination square — a Starrett 12″ combo square runs about $85 and is worth every cent — and reference it directly off the bit flutes and the fence face simultaneously. Check near the infeed knob, at the midpoint, and at the far end. Measure off the miter slot, not the table edge. The table edge is almost never actually straight.
Testing for vertical tilt: stand to the side of the table and hold a square vertically against both the fence face and the table surface. Get your eye level with the square. Any gap between the square and the fence face tells you the angle immediately.
Testing face flatness: lay a known-straight edge across both fence halves at their closest point to the bit. Slide a feeler gauge — the 0.002″ blade works well here — between the straight edge and each fence face. Any gap means they’re out of plane. Run this check at three or four spots along the fence length, not just the middle.
Fixing a Fence That Is Not Parallel to the Bit
Lateral drift almost always traces back to loose fence body hardware or to locking one knob before the other — which wrings a subtle twist into the whole assembly. That second cause takes people forever to find because the fix looks like it worked until the next setup.
Start by loosening every single locking mechanism completely. On my Jessem Mast-R-Fence — around $340 new, worth it — that’s six contact points. On a basic shop-built fence, it might be two carriage bolts. Doesn’t matter. Loose everything before moving anything.
Now bring the fence to parallel and reference the bit again with your square. Some fences have a slightly curved face that makes square reference unreliable. If that’s yours, mount a dial indicator on a magnetic base, zero it against the bit at one point, and slide down the fence length watching for deviation. You want zero the entire way.
Lock the knobs in a specific order: main body lock first — usually the front — then work your way back. Lock everything fully before testing. That sequence prevents the fence body from wringing into a skew as you tighten. That’s what makes locking order endearing to us woodworkers — it costs nothing and solves a problem that otherwise costs hours.
If the fence keeps drifting after locking, the hardware is worn smooth. On a cabinet-style router table, shim the mounting points with thin brass shims — a pack runs about $8 at any serious hardware store. On a bolt-down fence, add a lock washer or swap in a fresh bolt. Metal wears down after a few hundred adjustments and stops grabbing properly.
Fixing a Fence Face That Tilts In or Out
Vertical tilt usually lives in the fence body itself — either the extrusion has warped or the mounting hardware has developed slop. It’s annoying because shimming sometimes solves it completely and sometimes only reduces it.
Shimming the fence face is the first move. With the fence loose, slide thin shims behind whichever mounting point sits high. Use brass, not steel — brass won’t rust and doesn’t compress over time the way steel eventually does under clamping pressure. A standard brass shim runs 0.001″ thick, so you can get surprisingly precise. Tighten everything down and recheck with the square held vertically against the fence face.
Worth mentioning before anything else — it’s the part nobody wants to reach. If shimming doesn’t eliminate the tilt, the extrusion itself is warped. This happens on cheaper fences regularly, and on older fences that have seen serious humidity swings. At that point the options are: have the back face machined flat on a surface grinder (a local machine shop might charge $60–90 for that), or use incrementally thinner shims to minimize what you can’t fully fix. Don’t repeat what I did and spend three months adjusting knobs when the problem is in the metal itself.
Getting Both Fence Faces Coplanar for Through Cuts
Even when each split-fence half reads square individually, they can sit at slightly different distances from the bit. Run the straight edge across both faces and look for light underneath. Visible light — any at all — means one face is proud of the other. That’s your burning culprit for through-cuts.
Some fences include independent adjustment for each half. On the Jessem Mast-R-Fence, there’s a dedicated fine-adjust knob for each infeed face. Loosen one, nudge it forward or back just a fraction, lock it down, and retest with the straight edge. It takes patience — I’m apparently slow at this particular adjustment — and the Jessem system works for me while shop-built fences with no fine-adjust never quite get there. Five minutes of careful work usually dials it in.
If your fence lacks independent half-adjustment, you’re either living with a budget fence that simply cannot be made coplanar — take lighter passes and move on — or dealing with a twisted extrusion. That’s the same extrusion problem from the previous section, and shimming from behind is still your only realistic option short of replacing the fence body entirely.
Keeping the Fence Square After Every Setup
So, without further ado, let’s dive into the habits that actually keep this from becoming a recurring problem.
- Mark a reference line on the table surface with a fine-tip Sharpie where the fence sits when it reads square to your bit. Re-reference to that line at every setup instead of measuring from scratch. Ten seconds. Done.
- Lock the fence knobs in the same order every single time. Muscle memory eliminates the twist that inconsistent locking introduces. Write the order on a piece of tape stuck to the table if you have to — seriously.
- Make a test cut on scrap before running good stock. Every time. This catches roughly 90% of fence issues before they destroy material you actually care about.
Router table fences stay square when you know which specific problem you’re actually fixing and lock them the same way every time. The adjustment itself isn’t the hard part — it never was. Knowing which adjustment solves what you’re seeing in the cut, that’s the skill.


Stay in the loop
Get the latest the home woodshop updates delivered to your inbox.